Vegan Klondike Bars: Naturally Sweetened, Guilt-Free Treat
Craving that iconic chocolate-coated ice cream bar but seeking a healthier, plant-based alternative? Look no further! Our healthy Klondike bars dairy free paleo recipe brings the joy of a classic frozen treat right into your kitchen, without the guilt. Imagine a perfectly creamy, naturally sweetened "ice cream" core enveloped in a snappy, dark chocolate shell. These aren't just vegan; they're a revelation for anyone looking for a wholesome dessert that truly satisfies.
Gone are the days when indulgence meant sacrificing your dietary goals or well-being. These homemade vegan Klondike bars are a testament to how delicious and satisfying healthier alternatives can be. Whether you're navigating a dairy-free lifestyle, adhering to paleo principles, or simply aiming to reduce refined sugars, these bars offer a delightful solution. They're easy to make, incredibly customizable, and promise a refreshing escape on any warm day.
Why Ditch the Store-Bought for Homemade Goodness?
The allure of store-bought ice cream bars is undeniable, but their ingredient lists often tell a different story. Loaded with refined sugars, artificial flavors, and dairy, they can leave you feeling less than great. Making your own dairy-free Klondike bars with cashews & 3-ingredient chocolate offers a multitude of benefits:
- Nutrient-Rich Ingredients: By controlling what goes into your bars, you can pack them with wholesome ingredients. Cashews, for instance, provide healthy fats, protein, and fiber, turning a simple treat into a more sustaining snack. Coconut milk, another excellent base, offers medium-chain triglycerides (MCTs) and a wonderfully creamy texture.
- No Refined Sugar: This is a game-changer for many. Our recipe relies on natural sweeteners like maple syrup, which offers a subtle sweetness without the harsh spikes associated with white sugar. You also have complete control over the sweetness level, allowing you to tailor it to your preference.
- Dairy-Free and Paleo-Friendly: For those with lactose intolerance, dairy allergies, or following a paleo diet, store-bought options are often off-limits. These bars are inherently dairy-free and can be easily adapted to be fully paleo-compliant, offering a safe and delicious indulgence.
- Customization Galore: Ever wished your ice cream bar had a hint of coffee or a swirl of berry? Homemade means you can experiment with flavors, add-ins, and even the type of chocolate coating.
- Cost-Effective: While initial ingredient purchases might seem like an investment, homemade treats often prove more economical in the long run compared to specialty health food store versions.
The Heart of the Treat: Crafting Your Creamy, Guilt-Free Base
The secret to an incredibly creamy, dairy-free ice cream bar lies in its base. We primarily focus on two fantastic options, each offering unique qualities:
Creamy Cashew Bliss
Cashews are a star in the world of vegan desserts, and for good reason. When soaked and blended, they transform into an unbelievably smooth and rich cream that mimics dairy ice cream wonderfully. Their neutral flavor profile makes them an ideal canvas for various infusions.
- Preparation is Key: Always soak your cashews! For best results, cover them in hot water and let them sit for at least 30 minutes, or cold water overnight. This softens them significantly, ensuring a silky-smooth blend free of grainy bits.
- Nutritional Punch: Beyond their incredible texture, cashews contribute fiber and plant-based protein, helping to make this treat more satisfying.
- Blending for Perfection: A high-speed blender is your best friend here. Blend the soaked cashews with water, vanilla extract, and maple syrup until absolutely no lumps remain. Scrape down the sides frequently to ensure everything gets incorporated.
Rich Coconut Milk Alternative
For an equally delightful, and often even more strictly paleo-friendly, option, full-fat canned coconut milk is an excellent choice. It lends a distinct richness and a subtle tropical note that pairs beautifully with chocolate.
- Thick and Creamy: Opt for full-fat coconut milk (often found in cans in the international aisle), chilling it beforehand can help separate the cream for an even thicker base.
- Naturally Sweetened: Just like with the cashew base, maple syrup is the preferred sweetener. Its liquid form helps it incorporate smoothly without crystallization. For those following a stricter paleo diet, raw honey can also be used, but note its stronger flavor might require adjusting the quantity.
Whichever base you choose, the principle remains the same: blend until perfectly smooth, then pour into an ice pop mold and freeze until solid – usually about 6 hours or, ideally, overnight. Patience is a virtue when waiting for frozen treats!
The Irresistible Crunch: Mastering the 3-Ingredient Chocolate Shell
What's a Klondike bar without that satisfying snap of a chocolate coating? Our 3-ingredient shell is remarkably simple yet incredibly effective, creating that iconic crunchy exterior that hardens almost instantly upon contact with the cold ice cream.
The Magic Trio: Cacao, Coconut Oil, and Maple Syrup
- Cacao Powder: This is where your rich chocolate flavor comes from. Unlike cocoa powder, cacao is less processed, retaining more antioxidants and a deeper, slightly more bitter chocolate profile. Feel free to use good quality unsweetened cocoa powder if cacao isn't available.
- Coconut Oil: The hero of the hardening act! Coconut oil is solid at room temperature and melts quickly when heated. When combined with other ingredients and then applied to a frozen surface, it rapidly solidifies, creating that perfect shell. Ensure it's melted and warm when mixing.
- Maple Syrup: Our natural sweetener for the chocolate. It adds a touch of sweetness to balance the bitterness of the cacao and helps create a smooth, pourable consistency. Crucial tip: Ensure your maple syrup is at room temperature. Cold maple syrup can cause the melted coconut oil to seize and clump, making your chocolate coating lumpy and unusable.
Tips for a Perfect Coating:
- Whisk Vigorously: Combine your cacao powder, melted coconut oil, and room-temperature maple syrup in a bowl. Whisk continuously until absolutely no clumps remain and the mixture is silky smooth and drippy.
- Work Quickly: Once your ice cream bars are out of the freezer, the chocolate will harden very fast. Have your parchment-lined baking sheet ready. Spoon the chocolate over the top and quickly spread it to cover.
- Double Dipping (Optional): For an extra thick shell, you can wait for the first layer to harden, then gently flip the bar and coat the other side. Some prefer to just coat the top and sides in one go.
- Temperature Control: If you're working in a warm kitchen, you might want to return the baking sheet with coated bars to the freezer periodically to keep them very cold, ensuring the chocolate sets quickly and smoothly.
Your Klondike Creation: Step-by-Step Guide to Perfection
Now that we've covered the components, let's bring it all together. Making these healthy dairy-free Klondike bars is a fun and rewarding process!
1. Prepare the Ice Cream Base:
Combine your chosen base ingredients (soaked cashews, water, vanilla, maple syrup, OR full-fat coconut milk, vanilla, maple syrup) in a high-speed blender. Blend until exceptionally smooth and creamy. Taste and adjust sweetness if desired. Pour the mixture into ice pop molds, inserting sticks if your mold requires them. Freeze for a minimum of 6 hours, or ideally overnight, until completely solid.
2. Prepare Your Chocolate Coating:
Once your ice cream bars are firmly frozen, it's time for the chocolate. In a small bowl, whisk together cacao powder, melted coconut oil, and room-temperature maple syrup until a smooth, drippy consistency is achieved. Remember to keep that maple syrup at room temp!
3. Unmold the Bars:
This can sometimes be tricky. To easily release the frozen bars from their molds, briefly run the underside of the mold under hot water. This will slightly melt the edges, allowing you to gently pull each bar out. Lay them immediately onto a large baking sheet lined with parchment paper, ensuring they are spaced out.
4. Coat and Harden:
Working quickly, spoon the prepared chocolate coating over each ice cream bar. Use the back of the spoon to gently spread the chocolate into a thin, even layer. The chocolate will begin to harden almost instantly. If you want to coat the other side, wait for the first side to set, then gently flip and repeat. Once fully coated, place the baking sheet back into the freezer to allow the chocolate to fully harden and chill the bars.
5. Enjoy or Store:
Once the chocolate is firm, your vegan Klondike bars are ready to be devoured! You can enjoy one right away, or transfer the remaining bars to an airtight freezer-safe container or bag. They will keep well in the freezer for several weeks, ready whenever a craving strikes.
Beyond the Basics: Customization and Health Perks
One of the joys of homemade treats is the ability to truly make them your own. Don't stop at the basic recipe; unleash your creativity!
Flavor Variations for the Ice Cream:
- Coffee Kick: Add a teaspoon of instant espresso powder to the base mixture for a sophisticated coffee flavor.
- Minty Fresh: A few drops of peppermint extract will transform your bars into a refreshing mint-chocolate delight.
- Berry Swirl: Swirl in a tablespoon of berry puree (strawberries, raspberries) after blending for a fruity twist.
- Nutty Indulgence: Blend in a tablespoon of your favorite nut butter (almond, peanut) with the base ingredients for an even richer flavor.
Creative Chocolate Coating Add-ins:
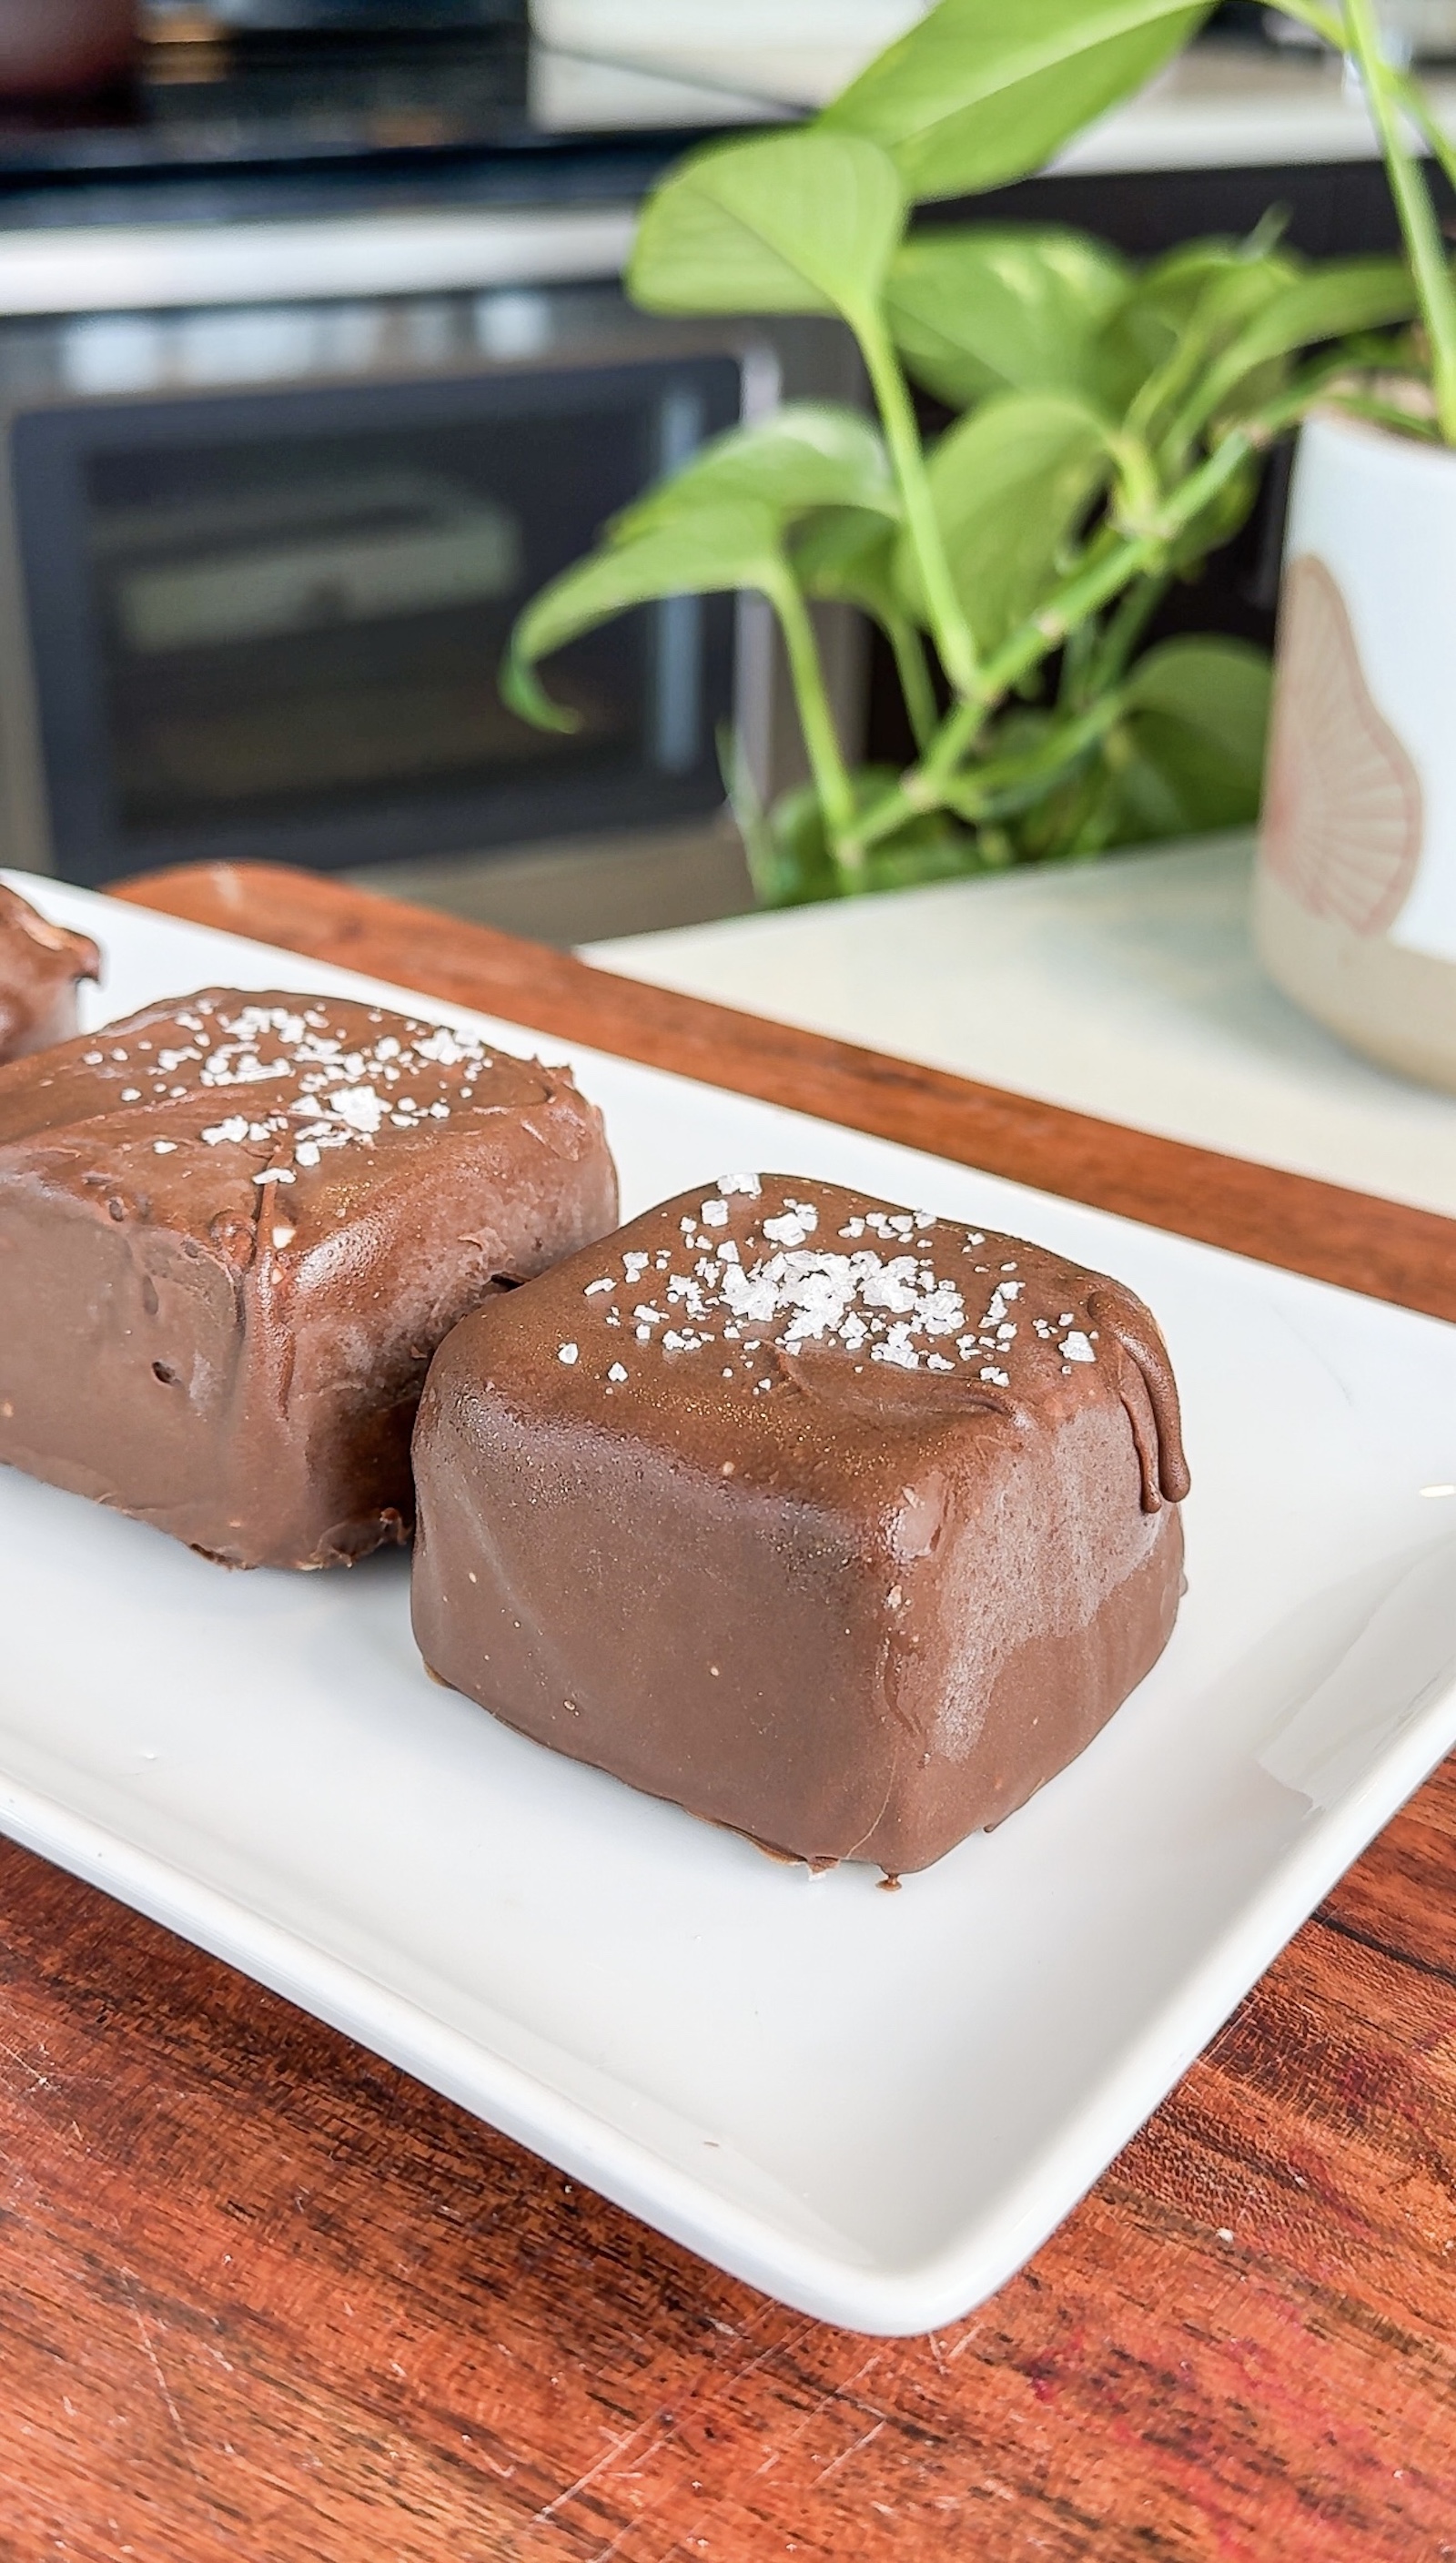
- Sea Salt Flakes: A sprinkle of flaky sea salt on the wet chocolate coating enhances the chocolate flavor beautifully.
- Shredded Coconut: Toasted or untoasted shredded coconut adds a delightful texture and tropical flair.
- Chopped Nuts: Finely chopped almonds, peanuts, or pistachios can be sprinkled on for extra crunch.
Embracing the Health Benefits:
Beyond being naturally sweetened and dairy-free, these healthy Klondike bars dairy free paleo offer genuine nutritional advantages:
- Antioxidant Power: Cacao powder is a powerhouse of antioxidants, which help combat free radicals in the body.
- Healthy Fats: Cashews and coconut oil provide beneficial fats that are essential for hormone production and nutrient absorption.
- Dietary Fiber: Cashews contribute fiber, which supports digestive health and helps keep you feeling full.
- Mindful Indulgence: Knowing exactly what goes into your treat allows for truly guilt-free enjoyment, making it easier to stick to your healthy eating goals.
Say goodbye to processed ingredients and hello to wholesome, homemade deliciousness. These vegan Klondike bars are more than just a dessert; they're an experience in mindful indulgence. With their creamy interior and crisp chocolate shell, they prove that you don't have to compromise on taste to enjoy a treat that's good for you. Dive into your kitchen, gather your ingredients, and prepare to be amazed by this naturally sweetened, truly guilt-free pleasure!
